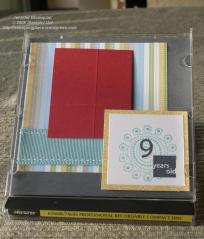
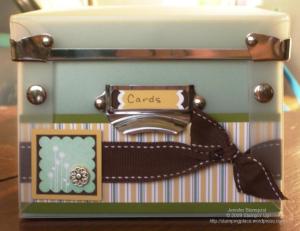
 As I’ve mentioned before, I’ve been slowly trying to get my crafting supplies, partial projects, and completed projects organized so I can actually find what I’m looking for in less than 20 minutes. 🙂 Well, when my mom was visiting last month, she brought with her the instructions for a great project. Using the Forget-me-not keeper from Stampin Up!, we created a decorated box and inserts for storing all of the cards you need to send out in a year. Now, first I don’t know how many of you out there had seen this box in the SU catalog and were like me and thought, ” that looks just like the photo boxes you get at Michaels only in plastic”. Well, it took me ordering one to realize they are totally different, and the SU box is way cooler! Turns out, the boxes you get at craft stores really are made for photos and so are not quite tall enough for your standard 5.5 x 4.25 cards to be placed inside and still have the lid close completely. The SU box is made to fit cards perfectly, plus it comes with 12 plastic inserts to help you organize the cards you make. In our case, we used those inserts for each month. So, now I’m totally a convert to these boxes. They pack flat and then go together in a jiffy and actually fit my cards.
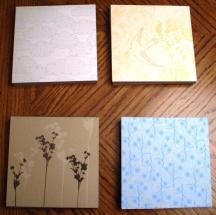
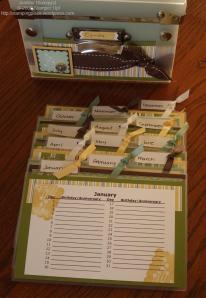 So, we placed a piece of cardstock on the inside of the box behind the the front panel to add some color and then used designer paper and ribbon to decorate the frontside. One note if you are going to decorate one of these boxes yourself. Definately use the red sticky strip. The plastic has a slight texture to it, and the sticky strip really locks the paper to the plastic. For each of the inserts, we printed out a piece of paper with the month dates on it to fill out who needs a card and for why. We used the So Many Scallops stamp set for all of the stamping in this project and the crop–a-dile made punching a hole in the tabs for the ribbon soo easy. Really the thing that I think makes the crop-a-dile a must have is how it makes punching thick and hard materials like you were punching through paper. I’ve punch metal and chipboard and now thick plastic.
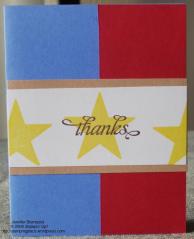
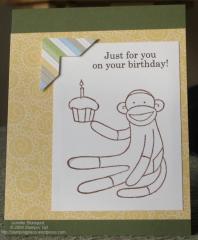
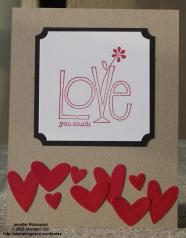
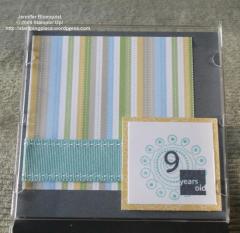
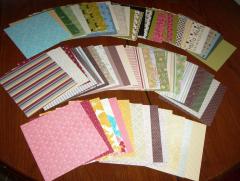
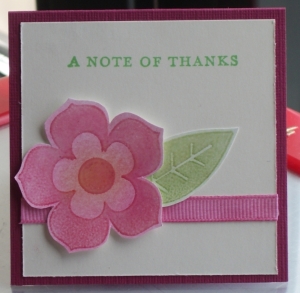
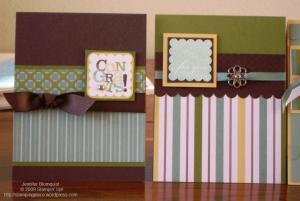
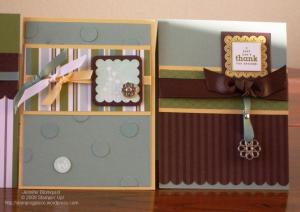
Anyway, when we were all done with the box project, we made four matching cards. Again, we used some patterns she brought and I was so glad she brought them. I would never have thought to do some of these techniques like punching out all the cardstock circles and gluing them on a cardfront of the same color – but they all turned out super cute! We spent most of the day making theses projects because we were chatting and sharing supplies (and cutting the paper, that I think was what took the longest). I wish my mom lived closer than 5 hrs away so we could do projects like this more often because it is really fun to spend an afternoon crafting and then end in the evening with so much completed so show for it! Though I guess this means next time she visits it is my turn to come up with the craft project. 🙂
Box Recipe
Stamps: So Many Scallops
Inks: Baja Breeze
Paper: Windsor Knot DSP, Baja Breeze CS, Old Olive CS, Chocolate Chip CS, So Saffron CS, Whisper White CS
Accessories: Forget-me-not Keeper, Double Stitched chocolate chip ribbon, Filigree Brads, Stampin’ Dimentionals, Sticky Strip, Scallop edge punch, Scallop Square punch, Crop-a-dile
Card Recipe
Stamps: So Many Scallops
Inks: Baja Breeze, Chocolate Chip
Paper: Windsor Knot DSP, Chocolate Chip CS, Old Olive CS, Baja Breeze CS, So Saffron CS, Whisper White CS
Accessories: Sage Shadow 1/4″ ribbon, Whisper White 1/4″ ribbon, Apricot Appeal 1/4″ ribbon, Chocolate Chip 5/8″ ribbon, filigree brads, glue dots, 1/2″ circle punch, Scallop edge punch, Scallop Square punch, Stampin’ Dimentionals, So Saffron marker, Chocolate chip marker, Sage Shadow marker, Old Olive marker
Filed under: Cards | Tagged: card organizer, Cards, filigree brads, forget-me-not keeper, ribbon, scallop punch, so many scallops, stampin' up, thank you cards | 8 Comments »



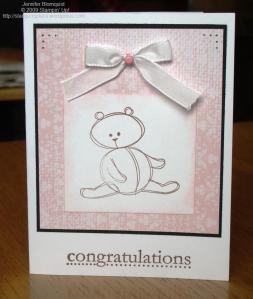 If you can’t guess, we learned that our friends were having a girl so I had to go with the pink theme and this Bella Rose designer paper seemed to fit the bill. I pulled out my old baby stamp set for the stamp set and went from there. If I had more time I would have colored in the teddy bear but I think it works as is. The other fun bit I did was to take a pretty in pink brad and wrap the tines around the knot in my taffeta bow to make the pink center. It was a little hard to get started but I think it adds a fun bit of color to the ribbon.